Anúncios
Complete Phone Backup Guide for iOS and Android Users
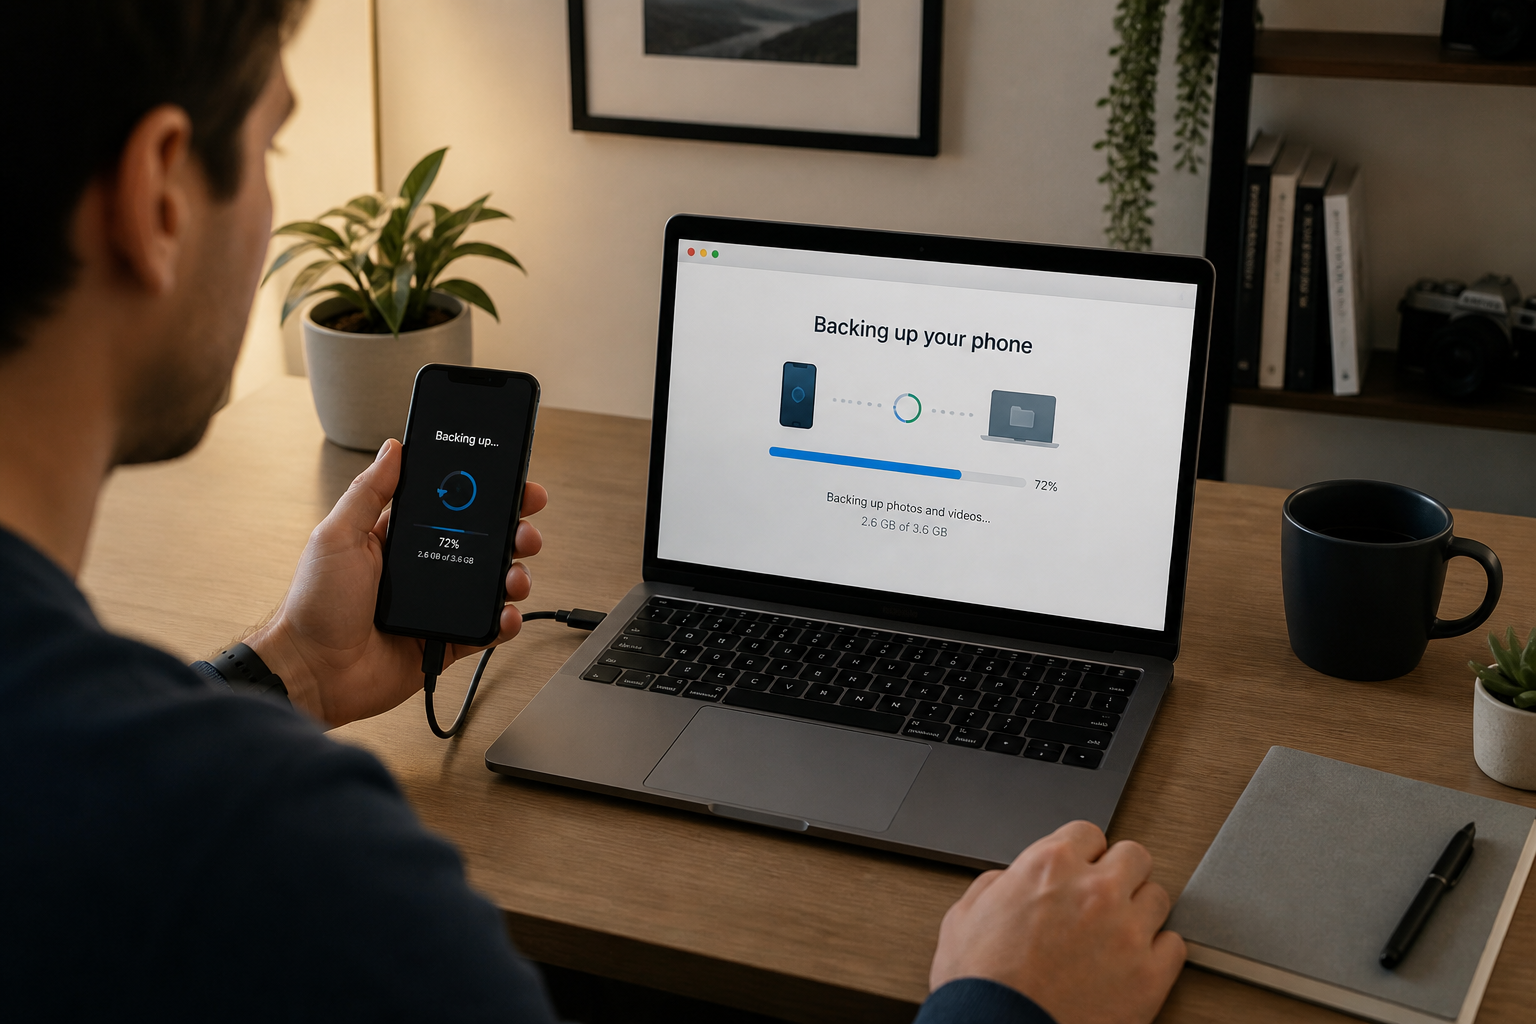
Backing up your smartphone is an essential habit for everyone with a modern device. Losing your data can mean losing photos, important messages, personal files, and much more. Whether you use an iPhone or Android phone, understanding how to properly back up your data will give you peace of mind in case your device is lost, stolen, damaged, or replaced. This guide explains the best backup options for both iOS and Android phones, shows you how to set them up, and helps you pick backup methods that fit your needs.
Why Phone Backups Matter
Most people rely on their phones daily for photos, contacts, messages, and sensitive personal data. Many do not realize how quickly this data can be lost as a result of stolen phones, broken screens, software malfunctions, or accidental deletions. Backing up ensures you can easily restore everything to a new or repaired device, minimizing disruptions to your daily life. It also protects memories and essential information you cannot replace.
Good backups aren’t just for tech emergencies or accidental losses. They also help when you’re upgrading to a new phone, experimenting with settings, or troubleshooting software issues. Having a recent, reliable backup means your digital life can continue with minimal interruption no matter what happens to your device.
Understanding Backup Basics
When you back up your phone, you create a copy of your data and save it to another location. This location can be in the cloud, on your computer, or on another storage device. Different backup options cover different types of data. Some methods only store parts of your information, while others can keep an entire image of your phone. Knowing the difference helps you decide which backup strategy is best for you.
Here are a few terms you may see:
- Cloud backup: Stores data with an online service, accessible over the internet.
- Local backup: Saves data on your computer or external drive using a cable or wireless transfer.
- Incremental backup: Updates only the changes since your last backup, saving space and time.
- Full backup: Makes a complete copy of everything every time.
Your choice depends on available storage, your comfort level with online accounts, how much data you want backed up, and whether you need to access backups from more than one location.
What Gets Backed Up — And What Doesn’t
Not all backup methods include every piece of data. Built-in options like iCloud (for iOS) or Google Backup (for Android) may leave out certain app data or files stored outside default folders. Local backups can sometimes offer more complete coverage, depending on the tools you use.
| Backup Method | Included | Not Included |
|---|---|---|
| iCloud Backup (iOS) | Photos (if using iCloud Photos), Contacts, App Data, Settings, Messages | Apple Pay data, Face ID/Touch ID, Some app data (if disabled) |
| Google Backup (Android) | Contacts, App Data, SMS, Photos (if using Google Photos), Settings | WhatsApp chats (unless separately backed up), some 3rd-party app data |
| Local Backup (Computer) | Device image, media, most app data (iOS via Finder/iTunes, Android via OEM tools) | Cloud-only content, encrypted app data, streaming media |
Always check your backup settings to make sure the data most important to you is being included.
Choosing the Right Backup Method for You
Picking a backup solution depends on your habits, preferences, and the kinds of data you keep on your phone. Here are some things to think about:
- Do you want automatic, hands-off backups or manual control?
- Do you need to back up photos, videos, and large files?
- Is internet access always available for cloud backups?
- Do you feel more secure when backups are stored locally?
- Is your backup mainly for upgrading/replacement, or for frequent restores?
For most people, a mix of cloud and local backups provides the best combination of convenience and protection. Cloud backups happen automatically and are easy to retrieve, while local backups offer extra security and full control if you run out of storage or want additional copies.
How to Back Up Your iPhone: iCloud and Beyond
iCloud Backup is the simplest method for most iOS users. Here’s how to set it up:
- Open Settings on your iPhone.
- Tap your name/profile at the top.
- Select iCloud.
- Tap iCloud Backup.
- Toggle Back Up This iPhone to ON.
- Tap Back Up Now to start an instant backup.
Once enabled, your iPhone will back up to iCloud automatically whenever it’s plugged in, locked, and connected to Wi-Fi. Be aware that the free iCloud tier offers only 5GB of storage—enough for most essential files, but not for large photo libraries or multiple device backups. You may need to buy extra storage if you want everything saved regularly.
You can check which apps and data are included in your iCloud backup by going to Settings > [your name] > iCloud > Manage Storage > Backups. Here you can select your device and see exactly what’s being stored, and choose to exclude specific apps if you’re tight on space.
Local Backup with a Computer offers an alternative. Use Finder on macOS Catalina or later, or iTunes on PC and older Macs:
- Connect your iPhone to your computer with a USB cable.
- In Finder or iTunes, select your device when it appears.
- Choose Back Up Now to create a local backup.
- For extra security, choose to encrypt your backup. This saves passwords, health, and HomeKit data.
Keep in mind that local backups will be stored on your computer’s hard drive, so make sure you have enough free space. Regularly back up your computer itself for extra peace of mind.
Backing Up Android Phones: Google and Local Tools
Google Backup is available on nearly all Android devices:
- Open the Settings app.
- Tap Google, then Backup.
- Make sure Back up to Google One (or Google Drive, on some devices) is turned on.
- Review which data types are included: app data, call history, contacts, device settings, SMS messages, and more.
- Tap Back up now to create an instant backup.
Google Photos allows you to separately back up your pictures and videos. Make sure it’s enabled for all folders you want copied to the cloud. Free Google Drive storage is limited (typically 15GB shared with other Google services), so check periodically for storage warnings.
Many Android phone brands (such as Samsung, Xiaomi, or Huawei) also offer their own backup solutions. These tools can sometimes include more app data, home screen layouts, and settings not covered by Google backups. You’ll usually find their backup options in the device’s settings under “Cloud and accounts” or similar sections.
Local backup options for Android:
- Use your phone’s built-in backup tool to save data to a computer or memory card.
- Connect by USB and use dedicated desktop software (like Samsung Smart Switch).
- Copy files directly by dragging and dropping via USB—useful for photos, videos, and documents.
Not all data (especially app settings or system data) can be reliably copied this way, but local backups provide additional peace of mind.
Extra Protection: Apps and Third-Party Backup Services
If built-in solutions don’t meet your needs, there are a variety of third-party apps and services for both iOS and Android. These range from comprehensive tools that back up everything (including SMS, call logs, documents, and more) to specialized apps focused on photos or chats. Some well-known backup apps include:
- iMazing (iOS): Offers full device backups, export/import of messages, and much more from a computer.
- Dr.Fone (iOS & Android): Cross-platform app for managing backups, recovery, and data transfers.
- SMS Backup & Restore (Android): Focuses on messages and call logs, can save to cloud or local storage.
- Sync.com, Dropbox, OneDrive, and other cloud storage apps: Great for photos, files, and select app data on both platforms.
Before choosing a third-party app, always check its privacy policy, read independent reviews, and consider whether you want your data stored with another provider. Make sure you trust the service and confirm its compatibility with your device and operating system version.
How to Schedule and Automate Your Backups
The key to effective backups is making them happen regularly. Both iOS and Android phones offer options for automated, scheduled backups. Automation reduces the risk of forgetting and keeps your data current.
- iCloud (iOS): Once enabled, backups occur every day when your phone is charging, locked, and connected to Wi-Fi.
- Google Backup (Android): Backs up automatically every 24 hours when the phone is idle, plugged in, and connected to Wi-Fi.
- Third-party apps: Many allow you to set specific times, intervals, or events (for example, after calls or message activity) to trigger backups.
- Manual reminders: Set recurring reminders in your calendar or notes app to prompt you to check on your backup status or make a full backup before traveling or major updates.
Some local computer backup tools allow quick scheduling, for example, a weekly or monthly backup. If you prefer more control, regularly check and trigger your own manual backups before big changes or risky activities, such as installing beta apps or system updates.
How to Verify That Your Backups Work
Making backups is only half the job—verifying that they’re complete and usable is just as important. If you’ve ever tried to restore only to find something missing, you know how frustrating it can be. A good backup habit involves periodic checks so you’re confident your data is safe.
For cloud backups, log in to your iCloud or Google account from a computer. Check that recent backups are listed and include the types of data you expect. For iOS, check in Settings > [your name] > iCloud > Manage Storage > Backups. For Android, visit your Google Drive backups section and see details about your most recent backup.
If you use local computer backups, try restoring to a test device if you have one, or browse the contents of the backup using your desktop tool (such as Finder, iMazing, or Smart Switch) to confirm that everything appears as it should.
- Review backup dates to make sure they’re recent.
- Check storage levels; if reaching capacity, some older backups may have been deleted.
- Periodically restore a portion of your data (for example, a single photo or chat thread) to ensure it can be retrieved successfully.
- Document your preferred restore method in a safe place, in case you need it during an emergency.
Testing your backups only takes a few minutes, but it could save hours or days of stress later. Make this a normal part of your digital routine.
Dealing With Storage and Costs
Cloud backup services usually offer free plans with limited storage. iCloud’s entry plan is 5GB; Google offers 15GB shared across all Google services. If you keep a lot of photos, videos, or use additional devices, you may quickly use up free space.
- Clear unnecessary backups (such as old device backups) to reclaim space.
- Review which apps and data folders you’re including in your backups; exclude unimportant or unneeded data.
- Consider paying for extra storage if your backup is critical—this is often less expensive than losing important files.
- With local backups, monitor your computer’s storage capacity and periodically delete outdated backups to keep space available.
A practical example: If you mostly care about messages and important contacts, you may be able to squeeze by with free storage. If your photo library is large, you’ll likely need to consider an upgrade. As a guide, a single recent iPhone backup can easily be 3-6GB, and more if you include extensive media.
Restoring From a Backup: What To Expect
Restoration is the process of transferring backup data back onto your device, often after a reset, upgrade, or loss. Each system handles restores a bit differently.
- iCloud and Google: During phone setup, you’ll be guided through restoring from a backup. You can choose which backup to use if there’s more than one available.
- Local backups: Use Finder, iTunes, or OEM tools to restore your backup back to the device. Some options let you pick which data to restore, while others are all-or-nothing.
- Partial restore: Some backup tools allow you to restore only select data—such as photos, messages, or app data—without erasing your whole device.
Restoration times depend on the size of your backup and the speed of your internet connection. Make sure your device is plugged in and on a reliable Wi-Fi network. During the restore, it’s best not to interrupt the process until it’s fully complete.
Best Practices for Keeping Backups Secure
Backups protect your data—but like anything valuable, they require careful handling. A poorly managed backup can be a security risk if your device or cloud account is compromised. Here are important steps for keeping your backups safe:
- Use a strong password for your cloud accounts. Enable two-factor authentication where possible.
- Always encrypt local backups, especially if they include messages, health data, passwords, or other sensitive info.
- Do not store local backups unprotected on shared or public computers.
- If using third-party apps or services, check their encryption and privacy guarantees before uploading your data.
- Periodically review your backup settings, permissions, and sharing options.
Lost or stolen devices with unencrypted local backups can reveal much more than just your photos. Treat your backups with the same level of security as your device itself.
Troubleshooting Common Backup Problems
Even if you follow best practices, you might encounter issues when backing up or restoring your phone. Here is a practical list of common problems and how to address them:
| Problem | Possible Cause | Solution |
|---|---|---|
| Backup won’t start or fails midway | Unstable Wi-Fi, low battery, lack of storage, software glitch | Check Wi-Fi, free up space, restart device, update software, try manual backup |
| Not enough iCloud / Google storage | Large photos, videos, multiple device backups | Clear space, delete unused backups, buy more storage, or use local backup |
| Some data missing in backup | Disabled folder/app backup, unsupported app, sync not enabled | Review backup settings, enable required apps/folders, check third-party backup |
| Restore stuck or incomplete | Interruption, slow internet, outdated OS | Retry on a stable network, update OS, free up device storage, try alternate restore method |
| Can’t access backup files | Corrupted backup, passwords lost, hardware problem | Restore from earlier backup, use recovery software, contact support |
If problems persist, always seek help via official support channels for your device or backup service.
For most phone owners, combining a cloud backup (for convenience and disaster recovery) with occasional local backups (for privacy and redundancy) provides the best blend of coverage and control.
| Backup Type | Pros | Cons | Best For |
|---|---|---|---|
| Cloud Backup |
|
|
Those who want seamless, hands-off access and offsite safety |
| Local Backup |
|
|
Privacy-focused users and those needing permanent, offline copies |
Choosing between backing up to the cloud or using local storage comes down to your personal needs for accessibility, privacy, and cost. Each approach offers unique strengths and limitations, and many users opt for a hybrid strategy to balance convenience and control.
How Cloud and Local Backups Compare
Spending a few extra minutes reviewing your most-used apps can save headaches during restore or migration efforts.
- Review backup settings within each major app (especially messaging, notes, and finance).
- Enable built-in cloud backups where available.
- Manually export data if cloud sync is not supported.
- Store copies of exported files in another secure location (like an external drive or password-protected archive).
To make sure you keep everything important, follow this simple checklist:
Some apps include their own cloud sync features—think note-taking or productivity apps—while others store data only locally. It’s important to check the settings for each critical app you use to determine if and how data preservation is handled. For sensitive or irreplaceable app content, such as secure messaging threads, manually exporting data might be your only option.
While most built-in backup services capture your contacts, messages, photos, and system settings, individual app data can be more complicated. Apps like WhatsApp, for example, require their own backup steps, which often involve linking to cloud services like Google Drive or iCloud.
Backing Up App Data: What You Need to Know
In general, set up automatic backups for your main data, and supplement with manual backups before significant device changes or unusual events.
- Manual Backup: Best for before device upgrades, risky app installations, or travel.
- Automatic Backup: Suited for daily peace of mind and uninterrupted data coverage.
- Combining both can provide flexible and complete protection.
Automatic backups, in contrast, run on a set schedule (such as daily or weekly), making them more reliable for ongoing protection. These are ideal for busy users or anyone who doesn’t want to think about regular data management. However, automatic backups may consume more storage over time and can sometimes miss data recently added but not yet synced.
Most modern smartphones offer both manual and automatic backup options, each with distinct advantages. Manual backups give you full control, allowing you to capture a snapshot of your data before a major change, like system updates or traveling. However, they rely on you remembering to perform them, which can leave gaps in your data protection if forgotten.
Manual vs. Automatic Backup: When to Use Each
Key Takeaways and Final Steps
Backing up your phone does not have to be complicated. By enabling your device’s built-in cloud backup—iCloud for iOS or Google Backup for Android—you will cover most essential data. For extra security, create local backups to your computer or trusted storage device, especially ahead of major changes or travel.
Make automation part of your routine and schedule checks to confirm your backup is current and complete. When your life evolves, remember to adjust which apps and information you back up, and review your storage needs. Always keep security top of mind, especially for sensitive data.
Select the combination of backup methods that gives you comfort and suits your habits. The time invested now could someday save you hours and protect years of priceless memories and important information.
Editorial note: This guide is intended for general audiences and provides practical background for choosing and managing reliable phone backups.