Anúncios
A Beginner’s Guide to the Best Free Video Editing Software in 2024
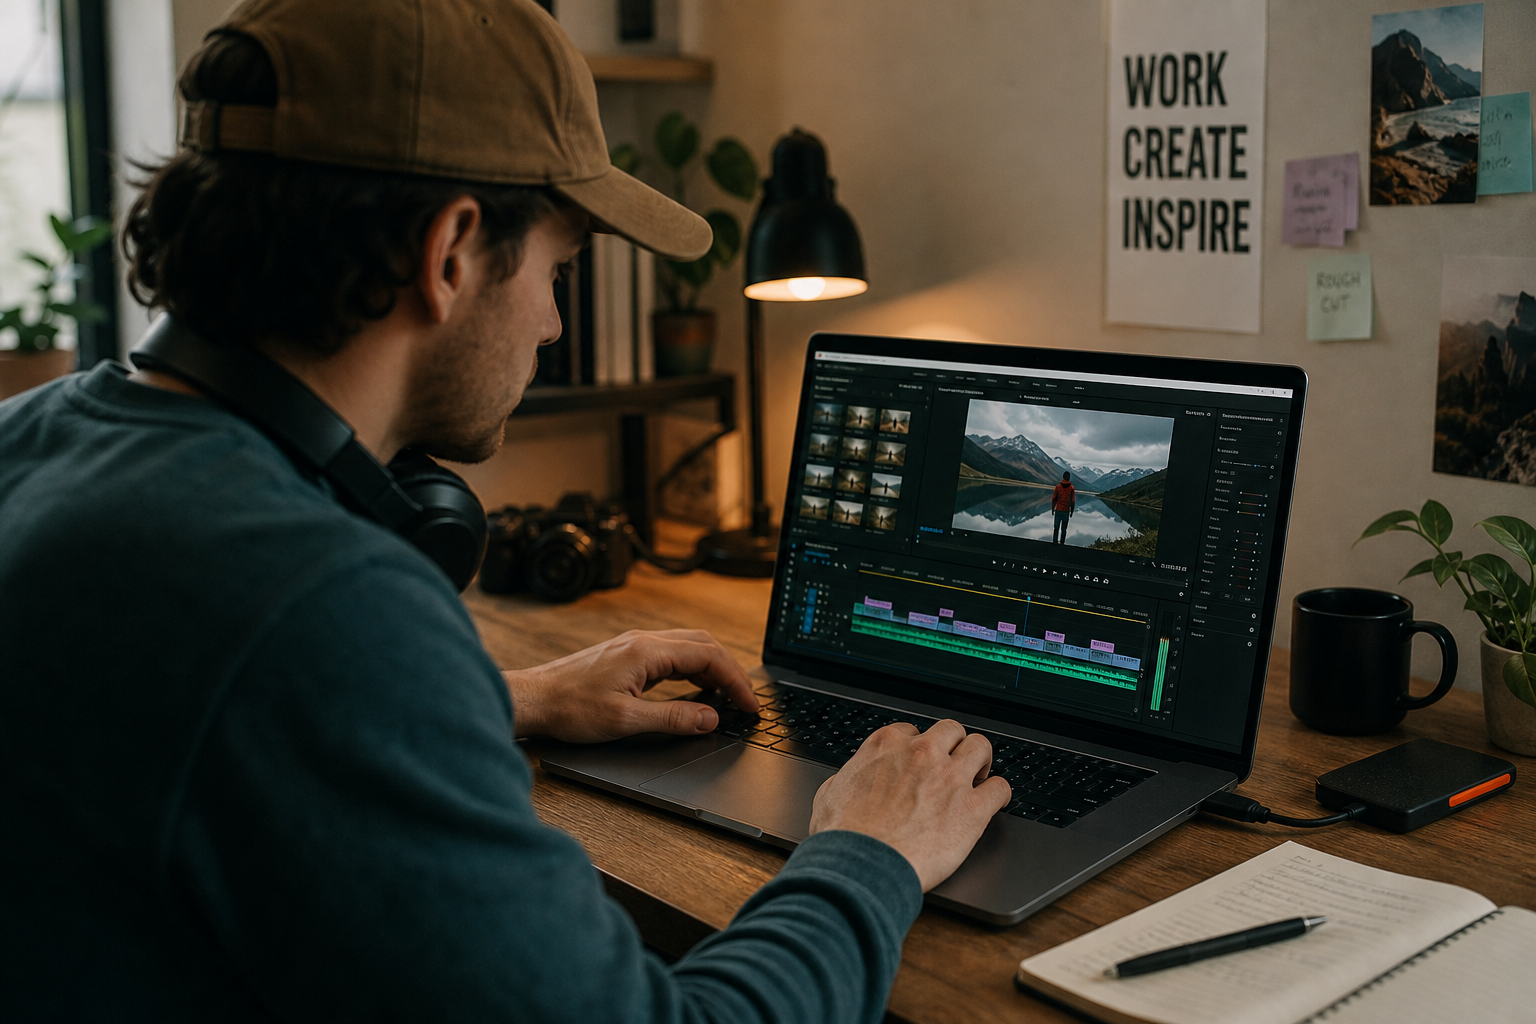
Starting out in video editing can feel overwhelming, especially when searching for the right free tool. With dozens of options and countless features, making an informed decision can be challenging. This guide breaks down the top free video editing software in 2024, focusing on beginners’ needs, ease of use, output quality, and practical example comparisons. Let’s explore how editors like CapCut, DaVinci Resolve, Clipchamp, iMovie, and Shotcut stack up and help you choose confidently.
What Beginners Need from a Video Editor
While advanced editors pack in professional features, beginners have different priorities. Most want tools that are quick to pick up, with easy ways to trim, split, arrange, and export videos without learning complicated workflows. Free tools vary widely in what they offer, so it’s important to focus on the essentials first:
- Straightforward interface design, reducing the learning curve.
- Basic editing features like cutting, trimming, and adding text.
- No required registration or hidden costs for main features.
- High-quality export with no or minimal watermarks.
- Support for common video file types (like MP4, MOV).
- Access to helpful tutorials or onboarding guides.
Some beginners might soon want more: better transitions, effects, or multi-track editing. But at the start, simplicity and clarity matter most.
Side-by-Side: The 2024 Top Free Editors
Let’s compare five popular free editors: CapCut, DaVinci Resolve, Clipchamp, iMovie, and Shotcut. The table below outlines core information at a glance, showing availability, key features, export details, and who may enjoy them most.
| Editor | Main Platforms | Learning Curve | Export Watermark | Best For |
|---|---|---|---|---|
| CapCut | Windows, Mac, Web, Mobile | Very Easy | No (on core features) | Fast edits, social media |
| DaVinci Resolve | Windows, Mac, Linux | Steep | No | Hollywood-style, advanced |
| Clipchamp | Web, Windows | Easy | No (on standard exports) | Quick browser edits |
| iMovie | Mac, iOS | Easy | No | Apple beginners |
| Shotcut | Windows, Mac, Linux | Moderate | No | Open-source fans |
This overview helps narrow down candidates before a deeper evaluation. Each tool suits different workflows and user preferences.
How to Choose the Right Editor for You
Selecting a free video editor as a beginner comes down to a few personal decisions. Consider these five practical steps before committing:
- Check if the tool is available for your device and operating system (Windows, Mac, Linux, web-based).
- Decide if you prefer an app, a browser-based editor, or a mobile editor for on-the-go use.
- Assess how quickly you need results. Some editors are built for speed and simplicity, while others require more time to master.
- Consider whether you’ll need advanced features later. Will a basic editor suffice, or do you want room to grow into more complex editing?
- Preview sample exports—look out for watermarks, quality limitations, or any mandatory branding added by free versions.
If possible, try out two or three options briefly. Even a short test run clarifies which layout and workflow feel comfortable.
An In-Depth Look at CapCut
CapCut has become one of the most popular choices for beginners thanks to its clean design, helpful templates, and accessible features. Originally built for mobile video editing, CapCut now offers powerful desktop and browser versions. The interface is simple, guiding beginners naturally from import through editing to export.
CapCut’s strengths include:
- One-click templates for TikTok, Instagram, and YouTube videos.
- Easy drag-and-drop timeline editing with support for multiple tracks.
- Automatic captioning and subtitle generation.
- Ready-made effects, transitions, and background music.
- Export with no watermark on standard videos.
CapCut is particularly effective if your projects are geared toward social media sharing. For example, users can edit a series of short clips, quickly add text overlays, and include trending music without searching for separate files. Even as a free tool, CapCut’s export quality is reliable for both personal and semi-professional sharing.
Getting Started with DaVinci Resolve
DaVinci Resolve stands out as the most advanced free option on this list. A favorite of independent filmmakers, it boasts high-end features, color grading, and audio post-production tools. However, this power comes with a steep learning curve, making it less beginner-friendly for quick jobs but a great investment for those eager to learn deeper editing skills.
With DaVinci Resolve, you get:
- No watermark on exported videos, even in the free version.
- Hollywood-grade color and audio editing capabilities.
- Support for very high-resolution (up to 4K) workflows.
- Complex timeline and multi-cam editing support.
- Extensive free training and manuals from the developer.
Getting started with DaVinci Resolve takes patience. A practical approach is to begin with the Cut workspace, which streamlines many steps. Practice by editing a short video—trim the start and end, add basic transitions, and export. Even at the simplest level, the quality is film-grade, but keep in mind you might spend time watching tutorials initially.
Clipchamp: Fast, Browser-Based, and Friendly
Clipchamp fills a unique role as a cloud-based editor that works straight in your web browser. This makes it an ideal option for those who don’t want to install large programs. Beginners appreciate its straightforward drag-and-drop interface, guided workflow, and integrated stock media.
Why choose Clipchamp?
- No watermark when exporting standard-resolution videos for free users.
- Works without heavy downloads—just your browser and an internet connection.
- Basic timeline editing: cut, trim, add text and music.
- Templates for business, education, or social sharing.
- Simple upload and export process, suitable for laptops or Chromebooks.
A typical beginner project might involve editing a quick presentation or a family video. You upload your clips, arrange them on the timeline, add a title card, select a background track, and export. Clipchamp minimizes distractions, focusing on what new editors request most.
iMovie: The Go-To for Apple Users
iMovie is bundled for free with Apple devices. Its tight design and easy drag-and-drop flow have made it a favorite for generations of Mac, iPad, and iPhone users. For macOS and iOS beginners, iMovie is usually the first editor to try—and for many, it is all you need for simple projects.
iMovie highlights:
- Sleek, touch-friendly interface ideal for touchscreens or mouse and keyboard.
- Quick video trimming, splitting, and transitions between clips.
- Built-in sound effects, music, and animated text options—which you can simply drag and tweak.
- No watermark on exports in any mode.
- Seamlessly syncs between Mac and iOS devices via iCloud.
A classic example: editing a vacation video. Drop in footage, cut as needed, add music and a title, and choose an export format. For most home and educational uses, iMovie delivers high-quality results with minimal setup.
Shotcut: Free and Open-Source Power
Shotcut attracts beginners who value open-source software or want cross-platform flexibility. Shotcut is available for Windows, Mac, and Linux, and offers a powerful range of editing tools. While it may look plainer than commercial editors, it is flexible and avoids adding watermarks to your projects.
Why try Shotcut?
- Fully free and open source: no locked features or export limits.
- Extensive codec and format support for import and export.
- No vendor sign-up required to get started.
- Customizable interface but can feel less elegant than competitors.
- Thriving community forums for help and tutorials.
Beginner workflows might involve importing a couple of clips, cutting out unwanted parts, overlaying a music track, and rendering out in your chosen format. Patience is helpful, as menus can seem dense at first, but Shotcut is a strong free option for those who like to tinker and avoid big brands.
Example Workflow: Creating a Simple Project
Let’s walk through a sample beginner workflow using these editors, focusing on a basic project: editing a birthday party video.
- Import Your Clips: Every editor supports drag-and-drop or a file picker to add your recorded video.
- Trim Unwanted Parts: Most let you highlight the start/end section and click “trim” or “split.” CapCut and iMovie make this especially simple with on-screen handles.
- Add a Title: Use a built-in title template (e.g., CapCut, Clipchamp, iMovie), drop on the timeline, and edit the text.
- Add Music: All options above let you drag music onto the timeline. Be sure to use copyright-free or provided tracks.
- Export: Choose export settings (usually MP4, 720p or 1080p recommended), and check the summary for watermarks or branding.
This project highlights what separates beginner-friendly editors from more complex ones. While DaVinci Resolve is powerful, CapCut, Clipchamp, and iMovie let you finish the above steps faster with less prior knowledge.
Export Quality and Watermarks: What to Watch For
One of the main concerns when using free editors is whether your exported video will display a watermark—those visible logos or messages over your footage. Here are key points about watermark policies and export quality:
- CapCut, iMovie, and Shotcut: No watermark on standard output, including for social or full-resolution exports.
- DaVinci Resolve: Professional-quality exports with no watermark even in the free version (export maxes at 4K).
- Clipchamp: Free users can export without watermarks at standard settings, but premium features and some stock content add branding unless paid for.
For the clearest results, always review your project before final publication. Do a short test export to confirm quality. Most tools default to popular resolutions like 720p or 1080p, which are widely supported.
Learning Curves: Time to Get Comfortable
Getting up to speed is one of the biggest hurdles for beginners. Each tool’s learning curve varies based on design, workflow, and available help resources. Here’s a quick rundown:
- CapCut: Quick to learn, with walkthroughs and templates for instant results.
- Clipchamp: Very easy. Built-in tooltips and prompts guide each action.
- iMovie: Especially easy for Mac/iPad users, with a clean, visual interface.
- Shotcut: Moderate. Interface is less guided, but plenty of written and video tutorials are available.
- DaVinci Resolve: Steep curve. Powerful but requires patience, practice, and following tutorials.
If your goal is to produce a finished video on your first try, stick with CapCut, Clipchamp, or iMovie. If you want to invest time learning advanced techniques, DaVinci Resolve is worth exploring.
How to Avoid Common Beginner Editing Mistakes
New editors often make similar missteps. Avoiding these early on helps save time and frustration:
- Forgetting to save frequently. Use autosave or manual save options after major changes.
- Importing clips with different resolutions or frame rates. Try to use footage from the same device or source.
- Choosing the wrong export format. Stick to MP4 unless you need a special format.
- Ignoring audio balance. Preview sound before exporting, and use built-in controls to adjust levels.
- Overusing effects or transitions. Keep edits simple for a professional look.
Taking your time, using undo, and seeking out beginner video tutorials can help you progress faster and reduce frustration.
Supporting Your Learning: Tutorials and Resources
Most free editors offer strong resources to help new users get started. These include:
- Built-in onboarding tours (CapCut, Clipchamp, iMovie).
- Official video walkthroughs and sample projects (DaVinci Resolve, CapCut).
- Community forums and Q&A sections (Shotcut, DaVinci Resolve).
- Free “getting started” guides available online and on YouTube for each editor.
For practical help, search for beginner-specific videos, as these guide you step by step without using jargon. Many creators design content specifically for the editor and version you are using. Try exporting a sample project while watching a walkthrough video to build familiarity.
Real-World Example Scenarios and Editor Recommendations
To further clarify which editor might suit you best, let’s explore example use cases:
- For sharing a quick event montage on social media: CapCut or Clipchamp. Fast, includes template effects and aspect ratios for platforms like Instagram or TikTok.
- For editing a short film or documentary: DaVinci Resolve. Highest quality tools, but plan for a steeper learning period.
- For simple home or school projects: iMovie (if on Mac/iOS), CapCut or Clipchamp (if on Windows or web), Shotcut (for open-source fans).
- For exporting without worrying about watermarks or paid tiers: CapCut, iMovie, and Shotcut are safest bets.
- For flexible exporting and exotic video formats: Shotcut and DaVinci Resolve support the widest range of codecs and settings.
If you often switch between devices or share files among collaborators, consider which editors offer cloud sync or easy transfer between platforms.
Summary Table: Feature Comparison at a Glance
| Editor | Platforms | Easy Start | Advanced Editing | No Watermark | Notable Limitation |
|---|---|---|---|---|---|
| CapCut | Win, Mac, iOS, Android, Web | ✔︎ | Some | ✔︎ | Some features require login |
| DaVinci Resolve | Win, Mac, Linux | — | ✔︎ | ✔︎ | Steeper learning curve |
| Clipchamp | Web, Win | ✔︎ | Basic | ✔︎ (on free tier) | Requires internet for editing |
| iMovie | Mac, iOS | ✔︎ | Limited | ✔︎ | Mac/iOS only |
| Shotcut | Win, Mac, Linux | — | ✔︎ | ✔︎ | Interface is plain |
Use this table alongside your goals and devices to narrow down your shortlist.
All five options offer watermark-free exports at basic settings, but higher resolutions or special features may require paid plans. If you value simplicity, CapCut and iMovie stand out for beginners. If you see yourself moving into more advanced editing, Shotcut and DaVinci Resolve give you more headroom as your skills grow. Check available tutorials and user communities to decide which learning environment feels most comfortable for you.
| Editor | Platform | Watermark? | Ease of Use | Export Formats | Learning Resources |
|---|---|---|---|---|---|
| CapCut | Windows, Mac, Web | No | Very Easy | MP4 (H.264), MOV | Extensive tutorials, built-in tips |
| DaVinci Resolve | Windows, Mac, Linux | No | Moderate | MP4, MOV, AVI | Official manual, YouTube guides |
| iMovie | Mac, iOS | No | Very Easy | MP4, MOV | Apple support, user videos |
| Shotcut | Windows, Mac, Linux | No | Moderate | MP4, MOV, WebM, more | Wiki, user forum, tutorial videos |
| Clipchamp | Web, Windows | No (paid for 1080p+) | Easy | MP4 (H.264) | Help center, short video tips |
Choosing your first video editor can feel overwhelming, but comparing features side-by-side helps narrow the field. Below is a compact table outlining the core differences relevant to beginners:
Side-by-Side Comparison: Key Free Editors at a Glance
For best results, preview your edit with headphones and use built-in audio meters to spot clipping or overly quiet segments. Consistent audio makes your videos easier and more professional to watch.
When working with background music, keep the track’s volume low enough that it doesn’t compete with spoken audio. CapCut, DaVinci Resolve, and Shotcut allow you to “duck” background tracks by lowering music when dialogue is present. Export a test clip at low resolution to review audio on different devices—sometimes issues appear on headphones that you won’t hear through computer speakers.
At a minimum, you should know how to adjust volume levels, mute unwanted sections, and fade audio in or out at the beginning and end of your clips. For voiceovers or talking-head videos, cutting out gaps or noise between sentences can make your project feel more polished. Many editors offer simple noise reduction or equalizer tools; experiment to find a balanced result, but don’t overdo it, as excessive processing can make audio sound artificial.
Sound quality is just as important as video clarity—viewers are likely to forgive imperfect visuals before they tolerate muffled voices or jarring background noises. Free editors provide basic audio controls, but learning a few audio editing skills can significantly raise the quality of your projects.
Audio Editing Basics for Clearer Videos
As you get comfortable, assigning custom shortcuts (where supported) can further streamline frequent actions like inserting transitions or toggling between timeline and source monitor views.
Each editor has unique shortcuts—CapCut, for example, uses standard Windows/Mac shortcuts, while DaVinci Resolve and Shotcut have their own sets. Make a habit of referencing your editor’s shortcut guide (usually found in the Help menu) and try learning a new shortcut with each project.
- Split/Cut: Usually Ctrl + B or Ctrl + K. Instantly divide a clip at the playhead position.
- Undo/Redo: Ctrl + Z and Ctrl + Y (Cmd on Mac) work in most editors to revert or restore changes.
- Playback controls: The spacebar typically plays/pauses; J, K, and L may rewind, pause, and fast-forward.
- Select/Move tool: Press V in many editors to quickly return to the main selection tool after making edits.
Efficient video editing relies on more than just clicking through menus—keyboard shortcuts can supercharge your workflow. Even for beginners, learning a handful of commonly used shortcuts can save hours over the course of a project and help you feel more in control as you learn.
Essential Keyboard Shortcuts for Faster Editing
Keep in mind that some free editors restrict export formats in their free tiers, so check whether your chosen tool supports your desired output settings before investing much time in a project.
Also, consider future compatibility. If you intend to share your videos on social media or play them across multiple devices, sticking with widely recognized formats (like H.264 MP4) during export reduces the chances of playback issues.
It’s a good idea to familiarize yourself with the formats your camera or smartphone produces. For example, iPhones typically record in MOV, while many Android phones use MP4. When you select a video editor, check its documentation for supported input and output formats. If you have footage in a less-common format, you may need to convert it using a program like HandBrake or a built-in converter. This step helps ensure that your editing software can process the footage without crashing or causing audio/video sync problems.
When you start editing videos, file compatibility can influence both your workflow and your final output quality. Beginners often encounter frustration when importing videos from different devices, only to find that certain files don’t load correctly or play smoothly in their chosen editor. Most free video editors support popular formats like MP4, MOV, and AVI, but differences exist in codec support and export options.
Understanding File Formats and Compatibility
Final Tips for Beginner Editors
Start with a small, meaningful project—like a birthday video, highlight reel, or travel montage. Use built-in or recommended export settings at first. Learn the basic workflow before experimenting with advanced effects or custom settings.
Frequent practice, even with short videos, improves confidence and familiarity. Save original projects as backups so you can revisit and try new edits later. When stuck, search for tutorials featuring your chosen editor—most communities are helpful to beginners. Over time, you’ll find your rhythm and learn which features matter most for your style.
Free video editing is more capable than ever. With the right tool, you can make polished, shareable videos without expensive software or steep up-front investment. Enjoy the process, and don’t hesitate to try different editors until you find one that fits your approach.
Editorial note: This guide is independently researched, with no sponsorship or influence from any software vendor.